Formatting a Disk for Graphic Images Storage and the Database
Screen capture data is configured separately.
As a matter of best practice, for medium to large scale deployments, ObserveIT recorded images are stored on a file share server in the network. Configuring all recorded graphic screenshots to be stored in the file system network share (a UNC path) instead of in the SQL database reduces the overall I/O overhead on the SQL Server.
For more information about data storage, see ObserveIT Data Storage.
This section describes how to configure the disks before creating the file share.
For information about creating the file share, see Creating and Sharing the Graphics Image Folders.
By default, all the recorded graphic screenshots are stored in the ObserveIT_Data database.
For more information about ObserveIT components, see Product Architecture and Components.
If using a file share, it is highly recommended to use a Windows Server 2016 machine with appropriate disk capacity, where the disk drive(s) are connected either locally, or on a storage device such as SAN/NAS using either iSCSI or Fiber Channel (FC). Where this is not possible, use virtual disks that are stored on the fastest and most optimized storage array for write IOPS.
Storage Types
There are a total of 3 types of storage you can use for recording screenshot data:
-
Hot storage: Recording screenshot data is written immediately after being received from a remote ObserveIT Agent. Because all the graphic images stored on the hot storage are typically small, the disk needs to be formatted with NTFS file system for Windows Server 2016 using the allocation unit size of 4KB (4096B). This ensures best disk location usage and reduce disk space waste.
-
Warm storage: Recording screenshot data is stored after an active ObserveIT session is closed. The recording screenshot data stored on the warm and archive storage is stored in a ZIP format, with each ZIP file containing all images for a single ObserveIT session. To optimize performance, format the warm and archive storage with 64KB block size. This configuration can be done using Disk Management or the DISKPART command line utility.
-
Archive storage: Recording screenshot data is moved during an archive operation.
Do not enable disk compression.
Format the Disk Using Computer Management
This example assumes the file share is to be located on a Windows Server 2016 Operating System and describes the procedure to configure the disks (and later – the file share) on this Operating System.
In this example, assume the new disk has just been connected to the machine, but no further action was taken.
-
Connect to the computer acting as the ObserveIT file share.
-
From Start, type Computer Management.
The Computer Management window opens.
-
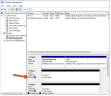
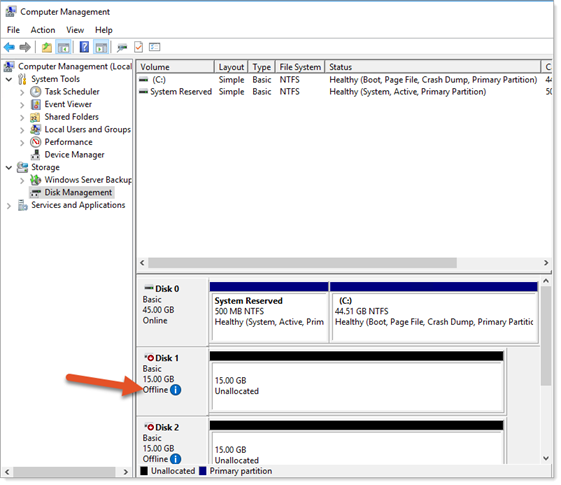
Expand Computer Management (Local), expand Storage, and click Disk Management.
The list of disks appears.
-
Find the new disk in the list. Usually, it is the only one with the status Offline.
-
Right-click the disk and select Online.
-
Right-click the disk again and select Initialize Disk.
-
Click the GPT (GUID Partition Table) radio button and click OK.
-
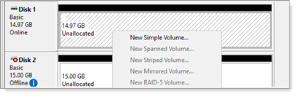
Right-click the partition and select New Simple Volume.
-
The Wizard opens, click Next.
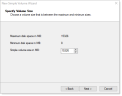
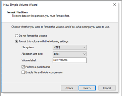
- Make sure maximum the values specified in the Maximum disk space in MB and Simple volume size in MB are equal. Click Next.
-
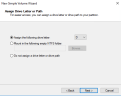
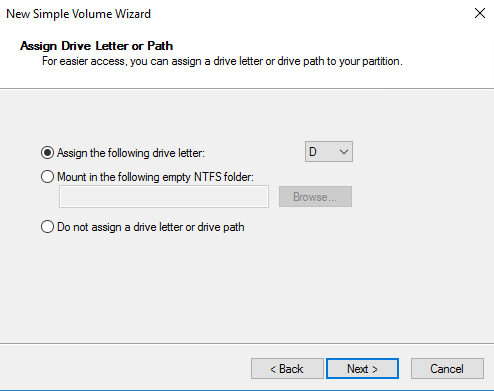
Assign an appropriate drive letter. Click Next.
-
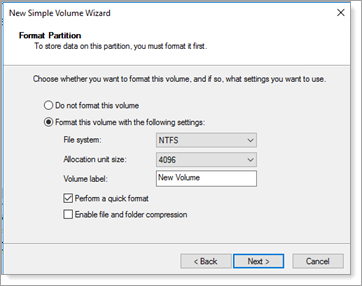
Click the Format this volume with the following settings radio button and select NTFS.
-
Set the Allocation unit size:
- 4096 for the hot storage.
- 64KB for the warm and archive storage.
- 64KB for SQL database.
-
Assign an appropriate volume label at the Volume label field.
-
Make sure Perform a quick format checkbox is checked.
-
Click Next and review the settings. Click Finish.
-
The disk is formatted and you are returned to the Computer Management window.


Validating Compression and Indexing Settings
-
From the Computer Management window, expand the Computer Management (Local) node, expand the Storage node, and click the Disk Management node.
-
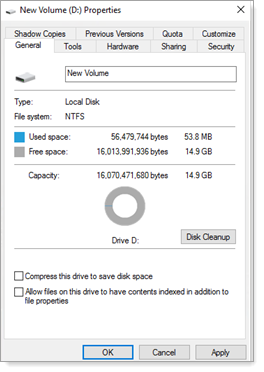
In the main window, locate the volume designated for the ObserveIT screenshot data.
-
Right-click the volume and choose Properties from the menu.
-
Make sure the Allow files on this drive to have contents indexed in addition to file properties check box is unchecked.

-
Click OK.
Related Topics:
Creating and Sharing the Graphics Image Folders
Installing Prerequisites for a Custom Installation
** Go to Custom Installation Steps.