Creating and Sharing the Graphics Image Folders
This topic describes how to create a file share so you can share folders on a Windows Server file server.
If you want to use Network Access Storage (NAS) or a different storage type, see your storage vendor documentation.
-
Connect to the computer acting as the ObserveIT file share.
-
Open Windows File Explorer. (You can open the Start menu and type in explorer, then Enter.)
-
In Windows File Explorer, navigate to a disk where the ObserveIT image store folder is to be located.
-
Create a new folder. (Click New and then Folder) and right-click some empty space inside the File Explorer window).
-
Give the folder an appropriate name, for example: OITHotStorage.
-
Right-click the folder, click Share With, and click Specific people.
-
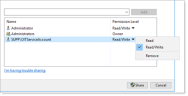
Type in the account name, for example OITServiceAccount and click Add.
The new account is added.
-
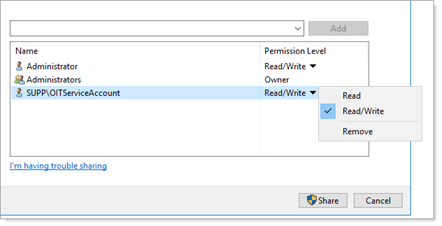
Select the account and set the Permission Level. Choose Read/Write. Click Share.
-
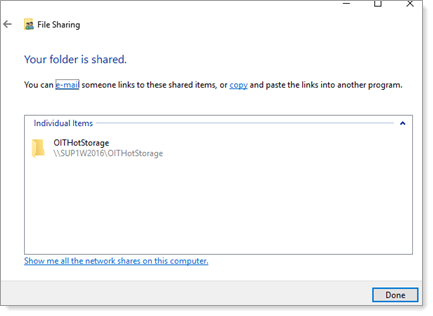
Your folder is shared.

-
Create folders for the ObserveIT Archive folder, for example: OITWarmStorage and OITArchive by repeating the previous steps.
Make a note to remember the paths to the current shares. You'll need them later.
For example:
\\filesrv\OITData\OITHotStorage
\\filesrv\OITData\OITWarmStorage
\\filesrv\OITData\OITArchive
Related Topics:
Formatting a Disk for Graphic Images Storage and the Database
Installing Prerequisites for a Custom Installation
** Go to Custom Installation Steps.