Proofpoint | ObserveIT On-Premises Insider Threat Management
mTLS Importing a Client (Agent) Certificate
In an mTLS environment, the certificate’s .pfx file must be imported to the endpoint so the Agent can use it. This topic describes how to import a .pfx file manually.
To secure who can access the certificate:
In the Properties of the .pfx file, in the Securities tab, select SYSTEM
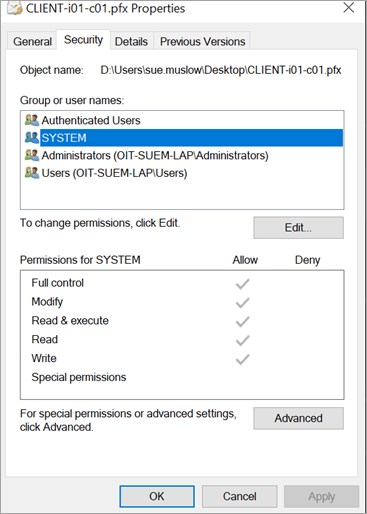
During installation, configure the file as non-exportable.
-
Use the Certificate Import Wizard to copy the certificate store (the storage location for all certificates).
Do one of the following:
-
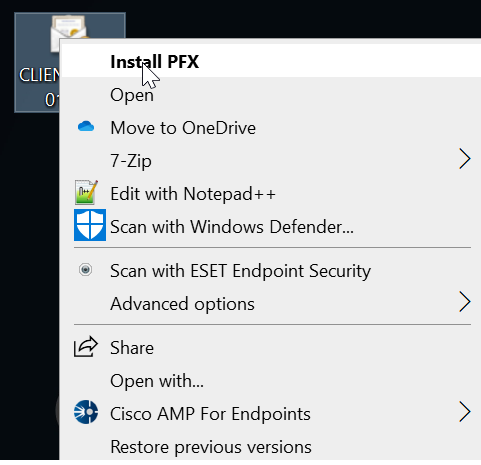
Locate and select the .pfx file. Right-click the certificate and select Install PFX.

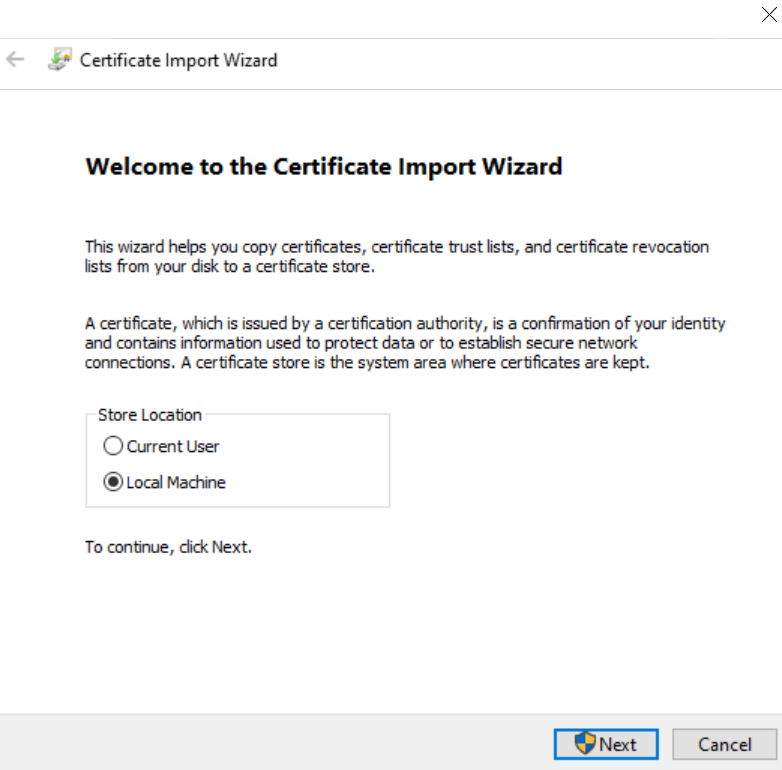
The Wizard opens, click Next.
Select Local Machine.

OR
-
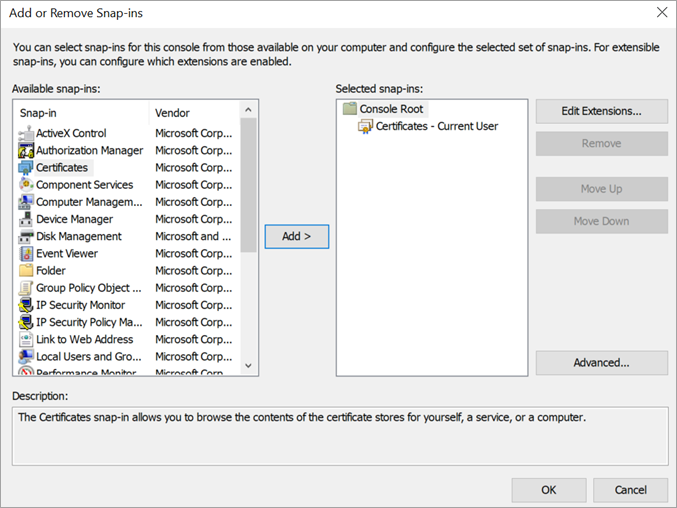
Use Microsoft Management Console (MMC). Open MMC and use the Snap-ins to add Certificates to the console.
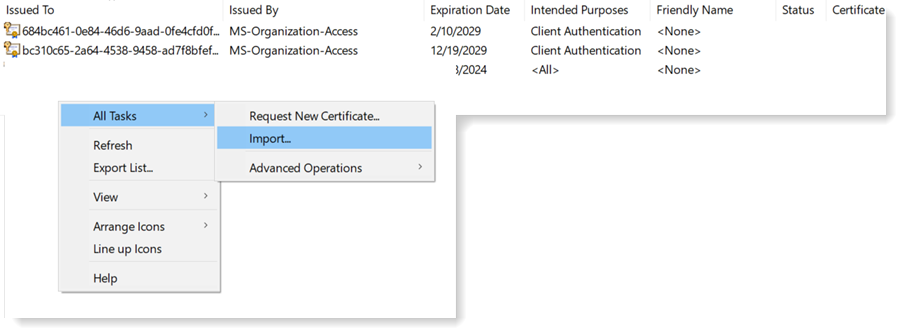
In the console, expand the - Certificates - Local Machine > Personal > Certificates list.
Right-click and select All tasks > Import.
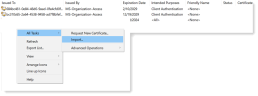
The Wizard opens, click Next.
Click Next again.
-
-
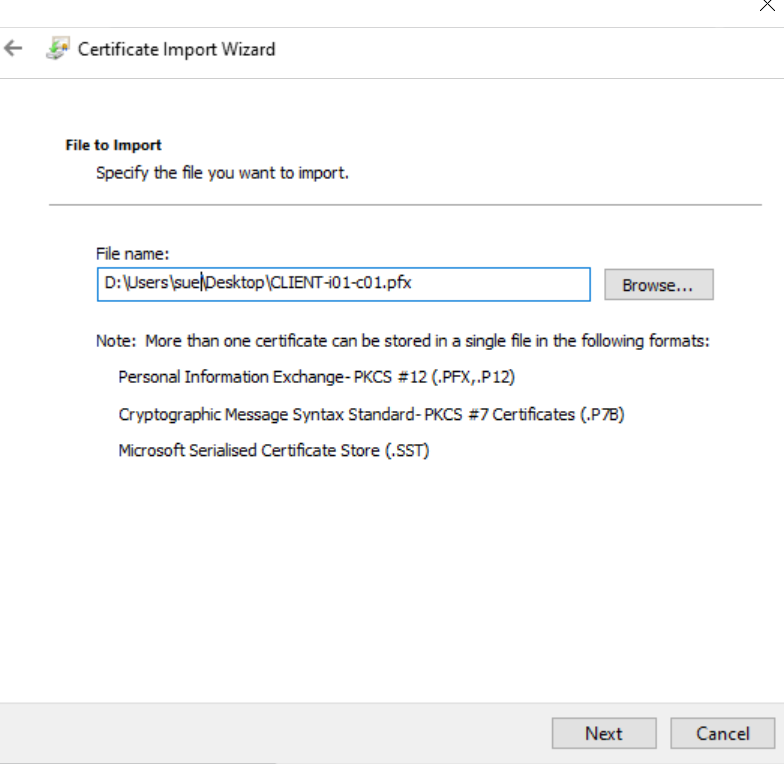
In the File to Import dialog box, click Browse and then select the file you want to import.

-
Click Next.
-
If required enter your password.
-
This certificate should be non-exportable so in the Import options make sure that Mark this key as exportable is not checked.

-
Click Next.
-
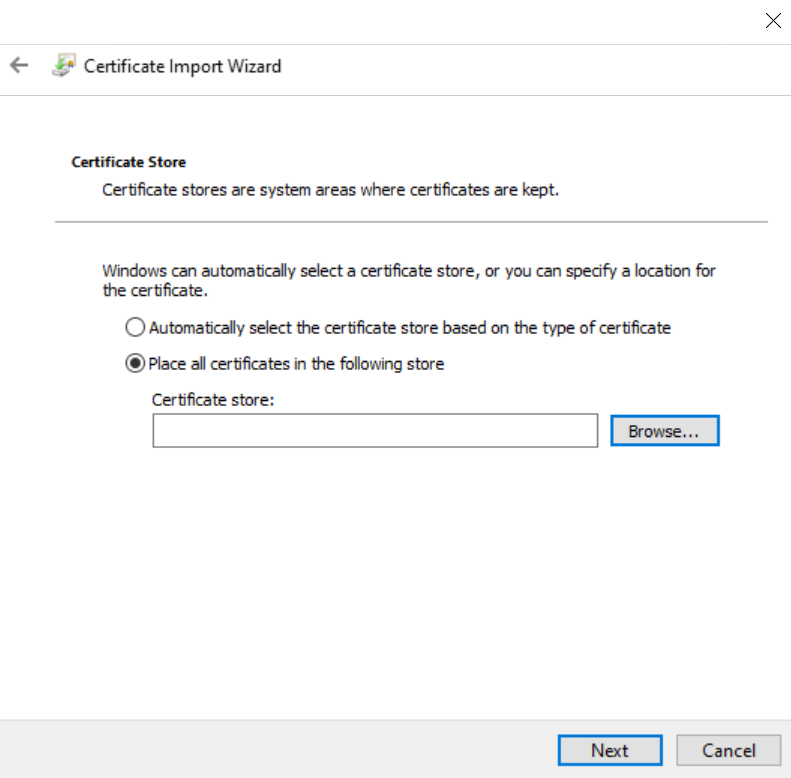
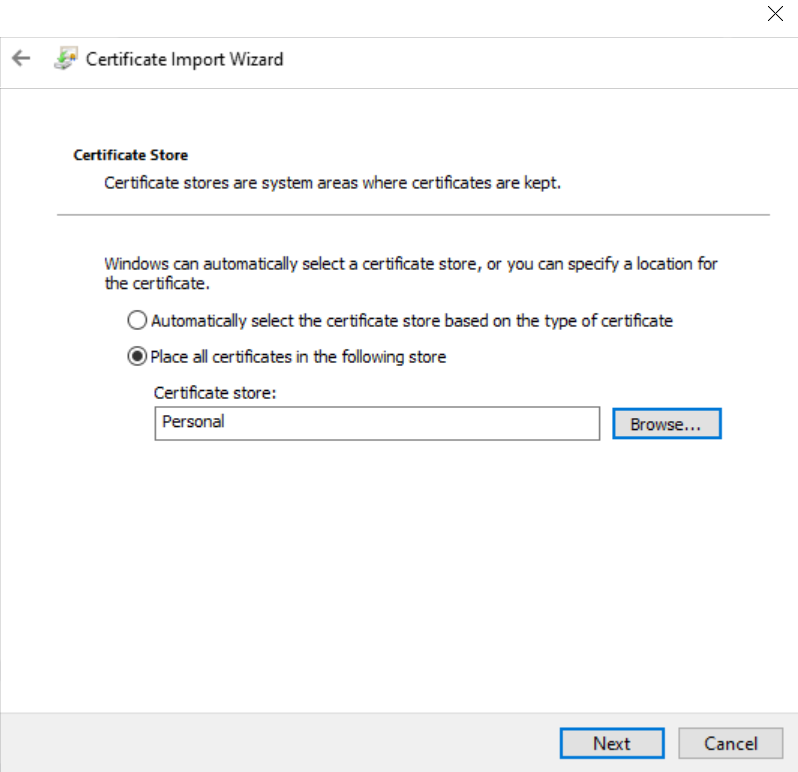
In the Certificate Store dialog box, select Place all certificates in the following store and browse to the Certificate store.

-
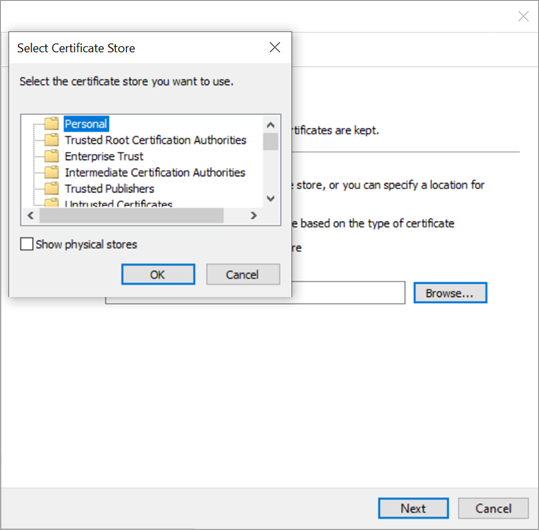
Browse to and select Personal from the certificate store.

-
Click Next.

-
Click Next.
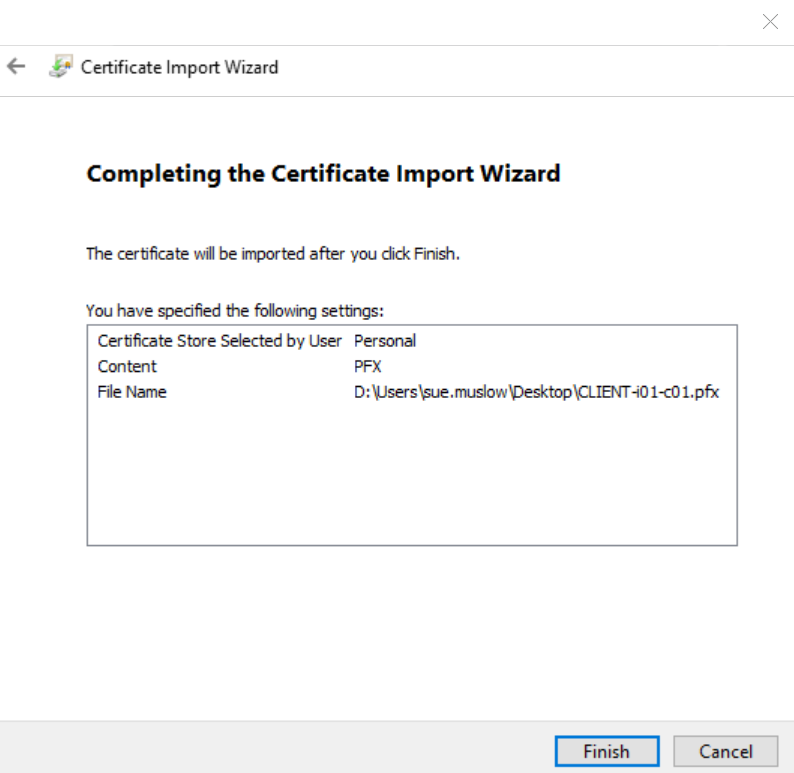
Your settings are displayed.

-
Click Finish to complete the certificate import.