Configuring SSD-based Hot Storage
ObserveIT enables the use of SSD-based "Hot" storage in addition to the standard "Warm" storage in order to provide faster archiving of sessions with full video recording saved in the file system. After sessions that are stored in the SSD-based Hot storage are closed (i.e. the session is ended by the user), the Screenshots Storage Optimizer zips the session screenshots and moves them to the Warm storage as one file. The result is a faster archive process.
To configure SSD-based "Hot" storage for screen capture data
- In the Screen Capture Data tab (Configuration > Storage Management > Storage), click the Change storage mode button.

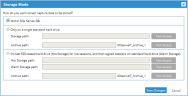
- Select Both on a standard hard drive (Warm Storage) and fast SSD-based hard drive (Hot storage).
While this option is available if the Screenshots Storage Optimizer is not installed, sessions will not be zipped and moved from the Hot storage to the Warm storage.
-
Enter the path of the standard Warm Storage and click Test Access to ensure that the path is accessible and has the required READ permissions. Access is tested only from the Web Console.
-
Enter the path of the Hot Storage and click Test Access to ensure that the paths for the Warm and Hot storage are accessible with the required READ permissions. This test only tests access to the "Hot" storage folder.
-
Enter the path to the archive folder and click Test Access.
-
Click Save Changes in the Storage Mode screen. The File System Warm and Hot Storage become active and their properties will be displayed.
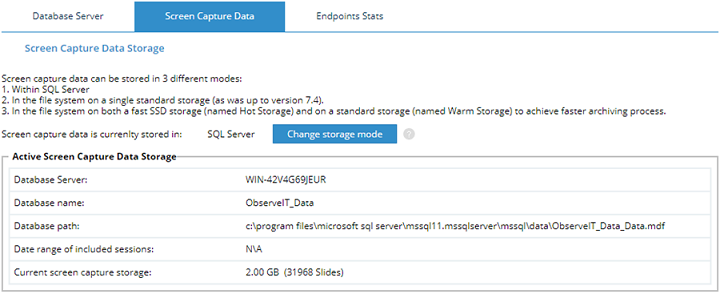

Viewing information about the active screen capture data storage
Storage location and other information is displayed about the configured storage.
To configure a threshold that will trigger a system when the maximum allocated storage is reached
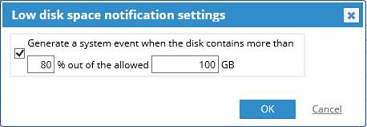
- Click Change (next to Low disk space notification) to open a dialog box that lets you configure/specify a different threshold.

-
Select the check box Generate a system event when the disk contains more than.
To stop generating a system event, clear this check box, and click OK.
-
Specify the maximum disk space that you want to allocate for the screen capture data, by entering values in the % and GB fields.
-
Click OK.
A system event is generated when the disk space reaches the specified values. If the event is ignored, after the allocated disk space is reached, you may experience screen capture data loss.
A message is sent to the user after SMTP settings are configured and a recipient email address is configured (see Configuring Email Notification Settings for Events).
Creating a New File System Location for the Warm or Hot Storage
Before the current file system location on the Warm or Hot Storage reaches its maximum allocated storage, you can select a new file system location to hold the screen capture data.
The previous location will still be fully available for playback even while new screen capture data will be written to the new location.
To create a new file system location for screen capture data
-
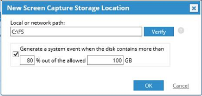
Click the New Screen Capture Storage Location button for the relevant storage type (Warm or Hot).
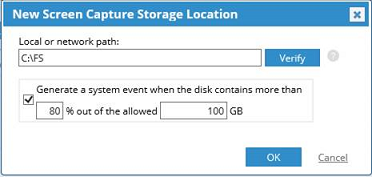
The New Screen Capture Storage Location dialog box opens.
-
Enter a new file system path, and click Verify.
The system checks that the new path exists, has not already been used, and is not a subfolder of an already used path. The system also checks that the user account used by the ObserveIT application pool on the Web console has read and write permissions for the specified path.
-
Click OK.
If required, you can also configure a threshold setting for the new path that will generate a system event.
- Before the changes and data are written to the new path, a confirmation dialog box opens. Click Yes to proceed.
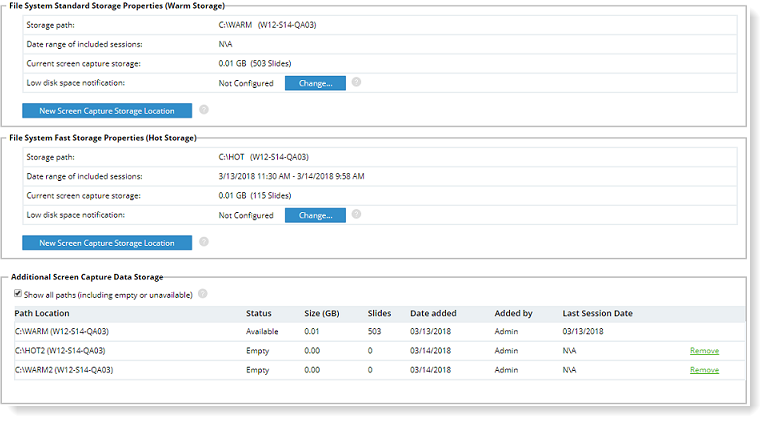
Once committed, the active path will change to the new path. The old path will be displayed in the Additional Screen Capture Data Storage section with the status Available.
The folder structure is automatically created so that the file system location (with the screen captures) appears as a subfolder to the database (which contains the related metadata). In this way, all relevant session data is kept together. Since you can define multiple file system locations for each active database, you can also see a number of databases each with several file system locations.