Formatting NTFS
When using an NTFS volume for ObserveIT image store, the drive containing the images may become fragmented and reach a limit where no further file operation will be available. To avoid this condition, format the drive with support for large file size records.
-
Connect to the computer acting as the ObserveIT file share.
-
Open the Start menu and type in COMPMGMT.MSC. Press the Enter.
-
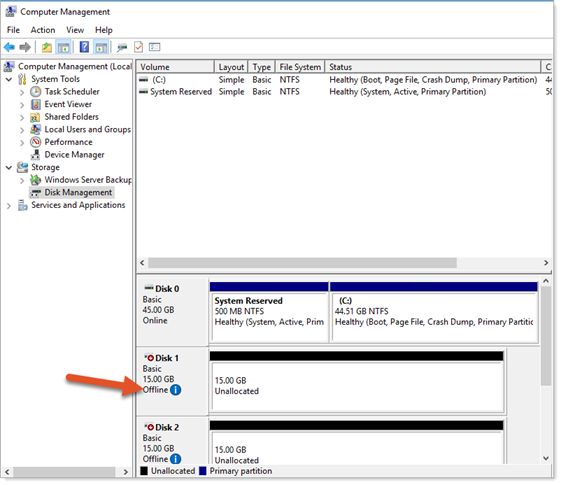
In the Computer Management window, expand Storage , and click Disk Management.
-
Find the new disk in the list. Usually, it is the only one with the status Offline.
-
Right-click the disk and select Online.
-
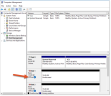
Right-click the disk again and select Initialize Disk.
-
Click the GPT (GUID Partition Table) radio button and click OK.
-
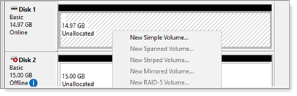
Right-click the partition and select.
-
Click Next.Make sure maximum the values specified in the Maximum disk space in MB and Simple volume size in MB are equal. Click Next.
-
Assign an appropriate drive letter. Click Next.
-
Click the Format this volume with the following settings radio button and select NTFS.
-
Set the Allocation unit size:
- 4096 for image storage.
- 64KB for SQL database.
-
Assign an appropriate volume label at the Volume label field.
-
Make sure Perform a quick format checkbox is checked.
-
Click Next and review the settings. Click Finish.
-
Click the Start menu and type in RUN.
-
Type in CMD. Right-click the Command Prompt shortcut and click Run as administrator.
-
If prompted Do you want to allow this app to make changes to your device? click Yes.
-
Type in the following command:
format <driveletter>: /FS:NTFS /Q /X /L /A:4096
where <driveletter> is the letter of the volume you specified
-
If asked to specify current volume name, enter it and press Enter.
-
At the Proceed with format prompt type in Y and press Enter.
-
At the Volume label prompt enter a volume label, if required, and press Enter.
-
At this point the volume is formatted correctly.
-
Type EXIT and press Enter to exit the command prompt.